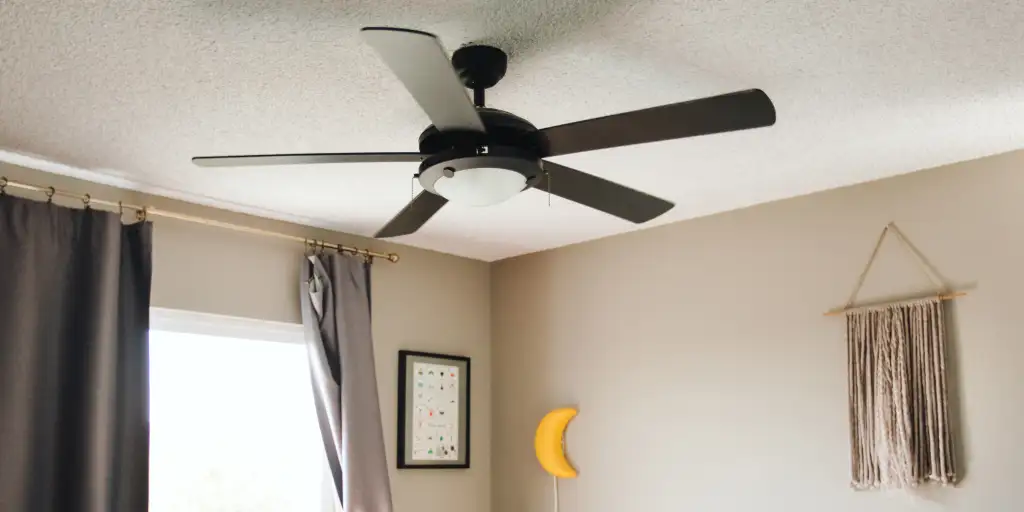
Ceiling fans are a great addition to any room in your home. They can help keep you cool during the hot summer months, circulate warm air during the winter, and add a decorative touch to your space. But before you can start enjoying the benefits of your new ceiling fan, it’s important to make sure it’s installed and maintained properly. Here’s how:
Installation
1. Choose the right location.
Before you start installing your ceiling fan, you need to choose the right location. Your fan should be installed in the center of the room, where it can circulate air effectively. It should also be at least 7 feet above the ground, and 8-9 feet if possible, to avoid any accidents.
2. Turn off power to the circuit.
Before you start working on the electrical components of your fan, you need to turn off power to the circuit. This can be done by turning off the appropriate breaker in your electrical panel.
3. Install the mounting bracket.
The mounting bracket is what holds your ceiling fan in place. It should be installed securely to a ceiling joist or other support structure. If you’re not sure how to do this, consult a professional electrician.
4. Assemble the fan.
Follow the instructions that came with your fan to assemble it. This will likely involve attaching the blades, motor housing, and any other components.
5. Attach the fan to the mounting bracket.
Once the fan is assembled, attach it to the mounting bracket. Make sure it’s securely fastened and doesn’t wobble or shake.
6. Connect the wiring.
Finally, connect the wiring according to the instructions that came with your fan. Make sure to follow all safety procedures and double-check your work before turning the power back on.
Maintenance
1. Clean the fan regularly.
Over time, dust and debris can accumulate on your ceiling fan, which can affect its performance and make it look dirty. To keep your fan in good condition, clean it regularly with a soft cloth or vacuum cleaner attachment.
2. Tighten screws and bolts.
As your fan is used over time, screws and bolts can become loose. It’s important to check and tighten them periodically to ensure that your fan remains stable and safe.
3. Check for balance.
If your fan starts to wobble or shake, it may be out of balance. To fix this, try tightening the screws that hold the blades in place. If that doesn’t work, you may need to purchase a balancing kit or consult a professional.
3. Replace worn-out parts.
If your fan is making unusual noises or not working properly, it may be due to worn-out parts. This could include the motor, blades, or other components. If you can’t fix the problem by tightening screws or cleaning the fan, you may need to replace these parts.
4. Lubricate the motor.
Your ceiling fan’s motor needs to be lubricated periodically to keep it running smoothly. Check the instructions that came with your fan to see how often this should be done, and use a lubricant that’s specifically designed for ceiling fans.
Conclusion
Proper installation and maintenance of your ceiling fan are crucial for ensuring that it works properly and lasts for years to come. By following these tips, you can install your fan safely and keep it in good condition over time. And if you’re ever unsure about anything related to your fan, don’t hesitate to consult a professional electrician or manufacturer.


Comments