
Types of vinyl became popular among decoration fans, not only because of their beauty but also because of the innumerable benefits they offer. One of the main advantages of vinyl siding over other types of flooring is the ease and speed of installation.
Some models are installed in less than two days, allowing quick release for traffic and a completely redecorated environment in the blink of an eye. In addition to being agile, vinyl flooring installation creates almost no mess.
Preparations for a successful installation begin before purchase; you must know if the subfloor can receive a vinyl floor and if it is in condition.
What are allowable and non-allowable underlayments for vinyl flooring?
The first thing you should do before installing your vinyl floor is to know what types of subfloors are allowed. They are:
- Cement;
- Ceramics;
- Stone;
- High resistance floor;
- Paviflex with acrylic adhesive;
- Floor with the heating system;
- Mezzanine locked.
If you have any subfloor mentioned above, you can now skip to the next stage and begin the preparation of the surface for the installation of vinyl flooring.
On the other hand, if you have any of the types of underlayment listed below, it will need to be removed before vinyl flooring installation; otherwise, there are great opportunities for future headaches. See what they are:
- Burnt cement;
- Wood;
- Uneven stones and ceramics or with loose tiles;
- Paviflex with bituminous adhesive;
- Acrylic or epoxy paint.
Be aware: installing vinyl floors is not recommended in external environments due to damage caused by bad weather, or in industrial kitchens, due to the high temperature of the stoves and boilers.
It also does not recommend installing vinyl flooring in shower bathrooms, as frequent and excessive moisture tends to cause the planks and tiles to shift over time.
How to prepare the surface to install vinyl flooring?
Vinyl flooring is a flexible product. Without proper subfloor analysis, the installed product may become wavy and marked over time. See below what are the necessary conditions to have a perfect subfloor for the installation of vinyl flooring:
- Cleansed;
- Level;
- Dry and cured;
- Sign;
- Waterproofed, if necessary.
If your subfloor is outside the criteria to be analysed, one way to correct it is to use Self-Leveling Tarkomasa, which can be applied in a single layer and does not require sanding. In addition to this, it has fast drying and excellent mechanical resistance.
For a perfect result, it is always recommended that vinyl flooring installation be done by trained professionals.
Did you see how the surface preparation was clean and without cracks? Now you can begin the installation of your vinyl flooring.
Before getting down to business, it is essential to acclimatise the products for at least 24 hours before installation. Check the information (lot, sequence, validity) on the packaging and never stack the products without consulting the storage instructions.
How to install vinyl tile flooring?
To install vinyl tile flooring, you must first verify the lot number to ensure that you are working with the same lot number and box sequence in the same area. Once the paging plan has been confirmed and the axes have been marked, you can start installing the parts according to the step-by-step instructions below:
How to install vinyl roll flooring for residential use?
Before installing the vinyl flooring in roll for residential use, you must leave it open and stretched in the environment for at least 20 minutes before starting the work, as this will settle the marks of the roll.
How to install vinyl sheet flooring for commercial use?
Like the residential model, commercial sheet vinyl flooring must go through edge trimming and wait, open and stretched, for at least 20 minutes before installation begins. Clean the back of the rolls well with a cloth and check what the pagination plane is since the layout of the products varies according to the pattern of the rolls, which can be directional or non-directional.
How to install vinyl flooring on glued board?
If you chose a standard of wood, open the boxes and mix the batches before installation. The boards are different and do not have a uniform colour, so if there is a slight difference in tonality, it will not be perceived when mixing the batches. You can see these and other installation tips below:
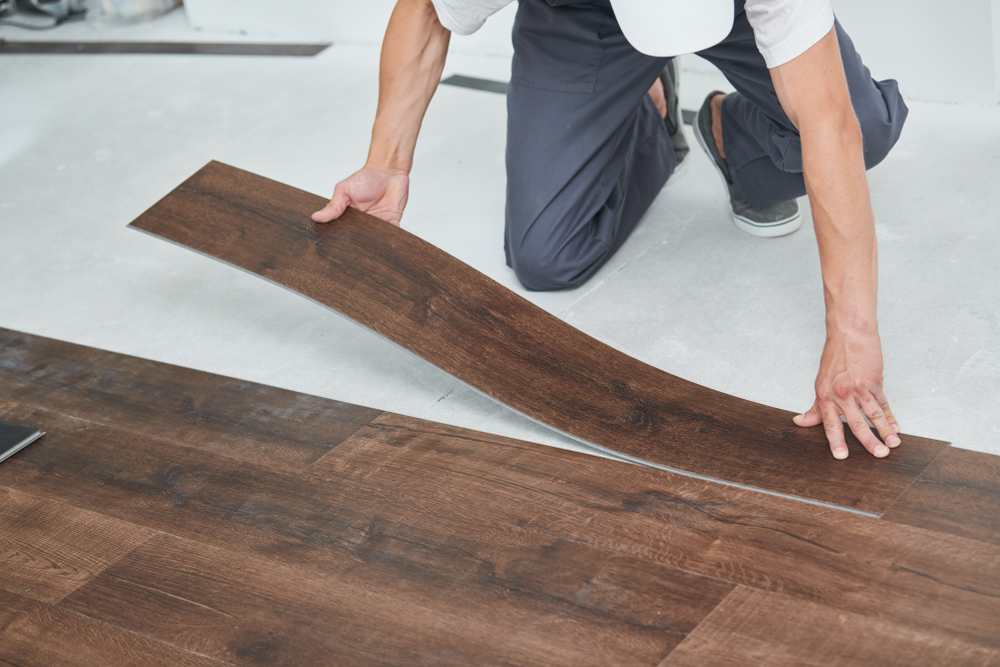
How to install vinyl flooring on embedded board?
The embedded vinyl floor is the fastest installation option among the vinyl ones – as we said, it is the model that allows the dream of having a vinyl floor installed in less than two days to come true. Fitted vinyl floors do not require adhesive to install; snap and go!
The right choice for fast and practical reforms
If you need agility when reforming, vinyl flooring is the ideal choice.